Tricks of the trade - Improve your photography with these easy tips
I thought I would just jot down a couple of beginner tips to help anyone who was wanting to improve their skills in the photography department. Whether you are a photography student or if you are picking up the camera to take your own blog photography or if it is just your hobby hopefully this can help. So with out further ado, here is what I do!

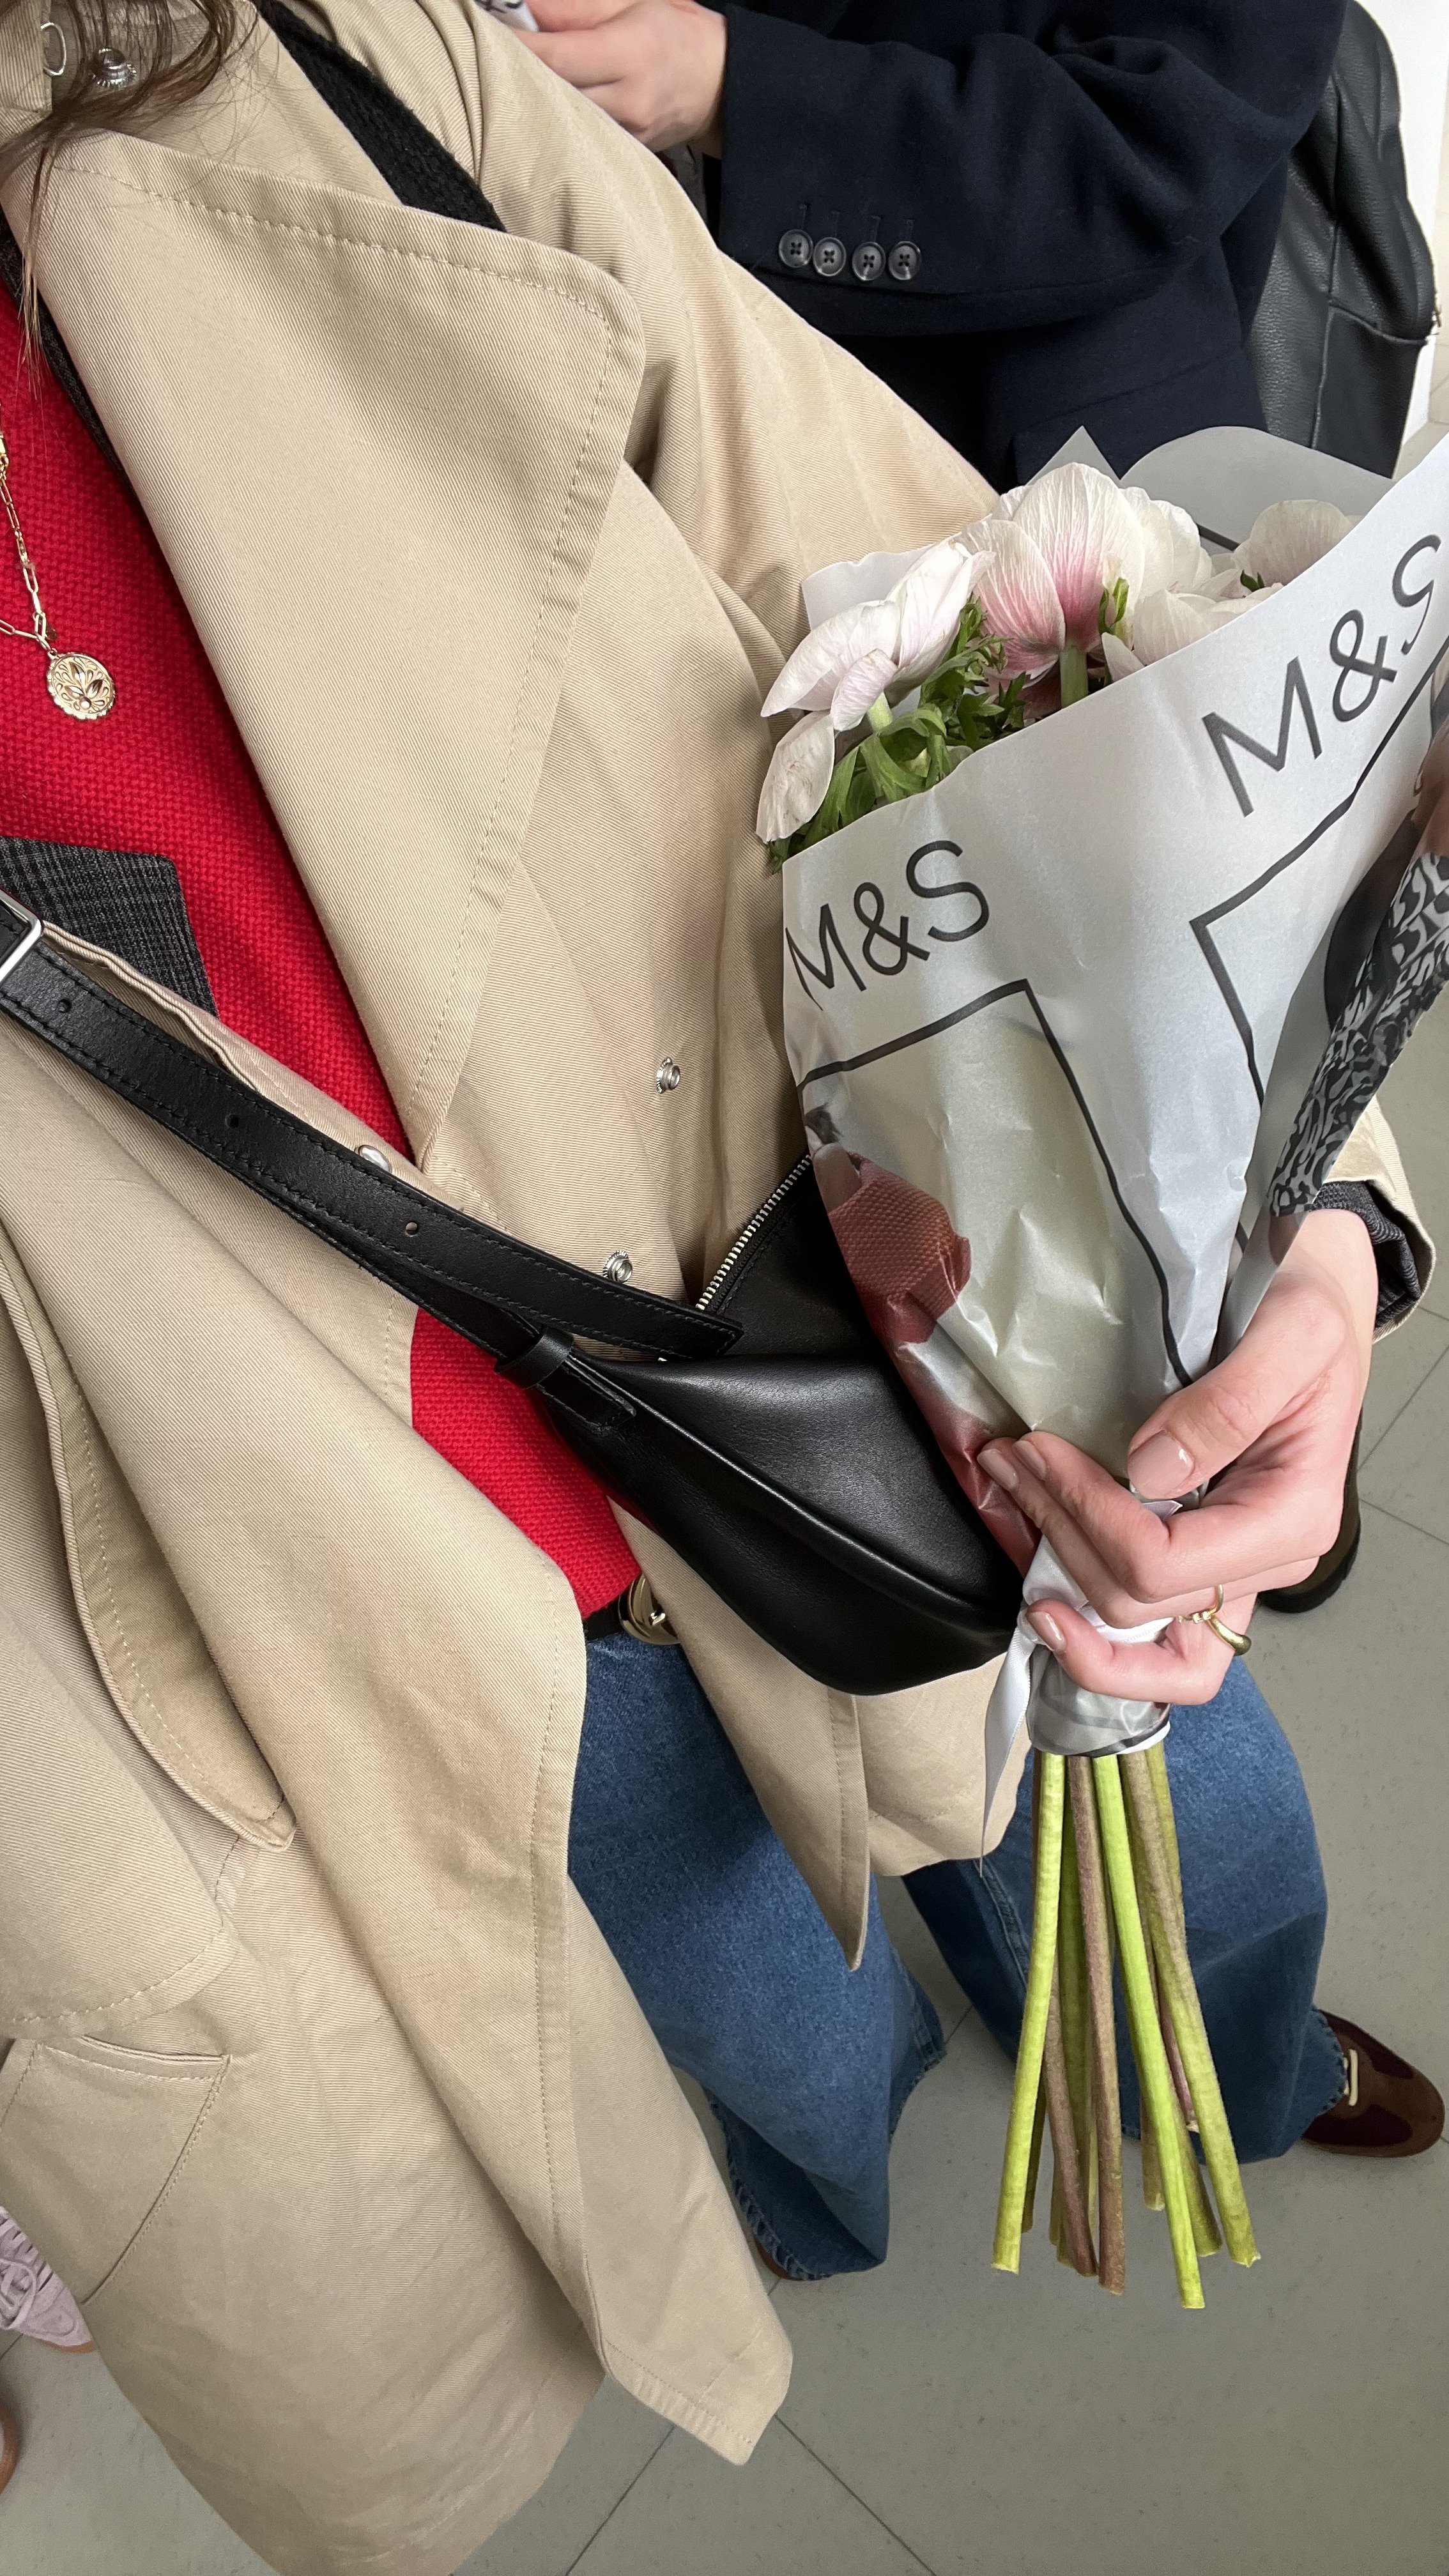
Images featured in this post are my own - If you would love to hire me for a shoot- please get in touch! -rosie@rosiebutcher.com
Equipment: *affiliate links

Make a loose plan
Before I shoot I like to create a mood board or sketch out some ideas of how I want the photos to look ( even if it is only I who can understand the sketches) - it helps to give the shoot a bit of a direction. It is always good to give whoever the in front of the camera an idea of what you want from the shoot or even just having something for yourself to check back on.
Don’t stick to the plan too precisely. Once you’re shooting you might see a different location which you prefer or think of something different you want to try which is fine but at least you will still have that basic idea of what you’re after so a theme will run through the set of pictures giving them more of an identity.
It's just good to take photos in the moment. I personally I love really natural shots that don't look too staged as often they can look a bit stiff and awkward. If my model is looking a bit stiff and awkward. I get them to "shake it out" loosen up a bit and then I go back into the pose they were holding them just sometimes when you're overthinking a position or pose you can become uncomfortable looking.
It's always best to be super chatty with the Model to let them know what you want from them and make them feel comfortable in front of your camera. All work together to create a look or an attitude and that you want to get across in your pictures after all it's a group effort to get the right shop.

Use the rule of thirds
Imagine a grid across your pictures. The rule of thirds is to use the grid and line the main part of your image up in one of these thirds. This can create more of an interesting look to your pictures. See below some examples of how the rule of thirds has been used in my work.
It also can be a good idea to create space for text or illustration.

Keep moving.
There is no point in taking the same picture from the same angle 30 times. Keep moving round as you take pictures, try different angles and you might be pleasantly surprised.
If you are shooting a model or posing yourself it's also good to change up poses very slightly with every click or every two clicks, move your head or hands, it's good to ask the model to do this as it means you get a variety of shots and can choose the best pose in post. Keep looking back through your camera every say 15 shots or so you can see what angles are working best for the person your photographing.


Get it right in camera.
This might seem obvious but I see a lot of people not doing it and then wanting things removed in post production. Make sure you look at your background. Is there an empty cigarette packet which can easily be moved before you shoot? Is there a pipe coming out the back of your model head? Or maybe there is an ugly bin in the background which if you move to the left can be hidden? Getting it right in camera can speed up the editing process a lot!

Take control.
I urge you all to try your best not to just buy a camera and stick it on auto mode. If you are just learning the best settings to use is “A” which mean aperture priority. This is a semi automatic setting and means you can set the aperture and the camera will do the rest of the work for you to work out the correct exposure.
The size of your aperture will depend on the lens you have, many basic lenes will go down to F4.5 the lower the aperture the more blurry the background so if your lens goes down to F1.2 then your background will be really blurry. I will explain the more technical explanation for this in another post but for now all you really need to know is that you can use it to bring more focus and then for attention on to your model in the image.
If you're shooting a landscape it's best to shoot on a higher aperture like F10 and above if you want everything in focus

Aperture priority mode is semi automatic. So once you set the aperture you want to shoot on the camera will work out what shutter speed to shoot on. One thing to watch out for. If you notice it is on Shutter Speed lower than 60 or even sometimes 120 you will notice movement blur on your pictures. If that's the case then up your ISO if you want to keep the same aperture, until the automatic shutter speed is higher than 60 or is at 120 or above. Although this is creative preference.. sometimes a bit of movement is nice on an image or might be the effect you are after.
(top top tip: look at the picture camera settings after your have used this mode to see what the shutter speed was set to by the camera to create the right exposure in different settings- you will then eventually be able to do this for yourself without even thinking!)
I reckon in a couple of months you will be at the point where you are wanting a little more control and will decide to take the plunge to shoot fully manual. Semi automatic settings are a great start although they can often be frustrating as the camera might wont know exactly what you are shooting or your desired effect.


Control your light.
If you are just starting out it is more likely you will be using natural light to light your shots instead of using flash. The weather can change very quickly. Here is a quick description of how to make the most out of different weather conditions!
On a bright sunny day - Facing the sun or where the light is coming from can create harsh shadows depending on what or who you are photographing this can either be flattering or not so, using the light to create a heavily contrast in picture can look awesome! I particularly love to use it to show off texture in clothing or to create a dramatic over all image, see above for reference.
If you’re after a softer look try shooting the model with the sun just to the side of them or slightly behind them. This will create a much softer look but just watch out for how much light you have on your model as you don't want them to be under exposed compared to the background
Golden hour- when the sun is going down it can create a beautiful golden light which is fab to use behind the model to create a soft glowy hue or if they are facing it. See below for some examples


Cloudy and overcast but bright day. This is great light for photography because it means you don't get harsh shadows and is much more forgiving, and gives you more options of where you can position your model without having to worry about the light. I love to stand the model facing the brightest part of the sky on days like this
Cloudy and dark - This can create a really flat light and there isn't much you can do about it. You can buy reflectors for about £20 and they can help to bounce a bit of light back into your model making them seem a bit brighter.
Dappled light - Using light in this way always makes me think of holiday. Its not always the easiest to shoot in, and can often depending on where and how the light is falling as to if it actually works on the image but when done well it can create really beautiful feature with in the image set.

Inside by a window - facing a window will wash out a lot of imperfections, creating a bright clean appearance on the skin.
Having the window backlight the model is also a great way to create soft lighting a bit like when you’re shooting outside on a bright day. However this can make using your camera settings tricky, if you are shooting RAW try and expose somewhere between the lightest shadow and the whites so that you still have enough information in the image to edit when you come to post production.

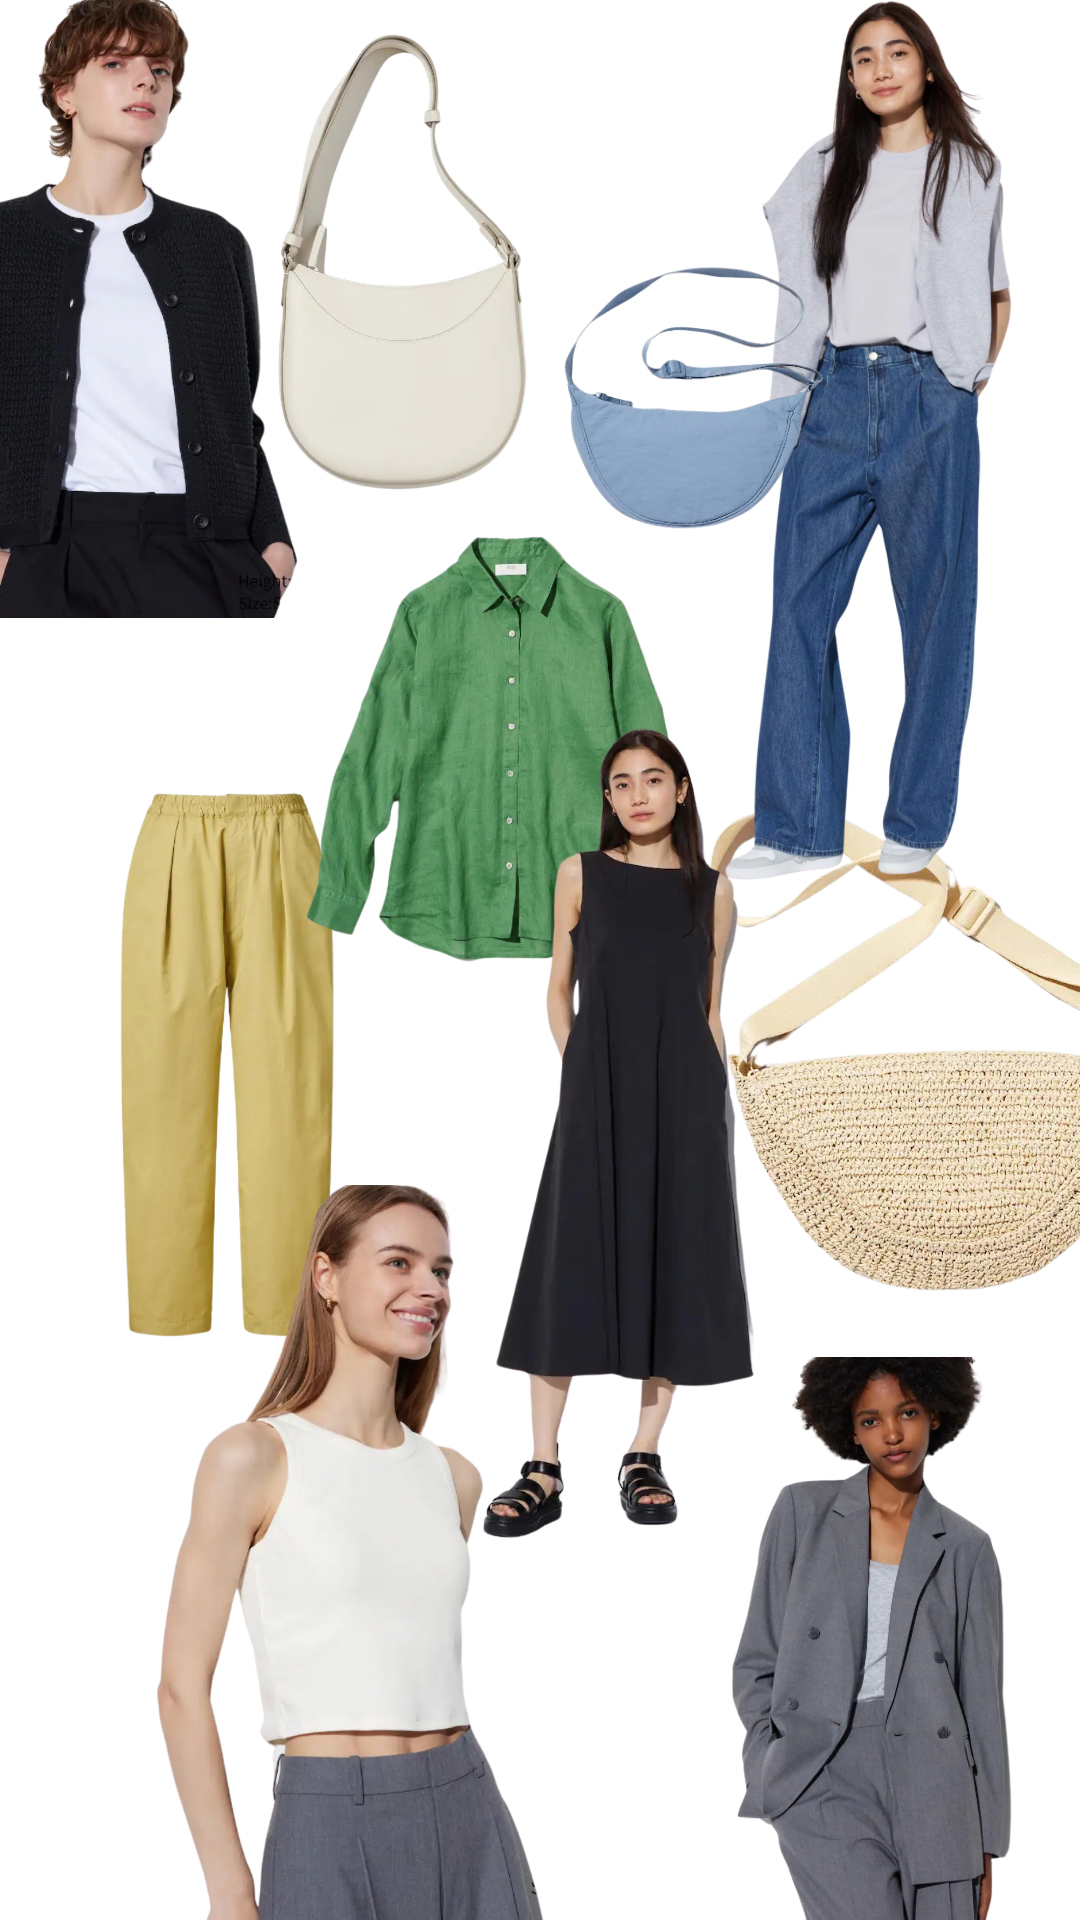
Consider colour - A way to make your pictures look more professional is to consider the colours you use in your pictures. Colour can affect your pictures in a number of ways.
You can always use the same tones in images to create your own style of mood, this would be done in your editing and why you see a lot of people talking about using a preset. - it means that all the images you create can have a similar look and create a running theme through out your portfolio.
You can use colours with in the image to make your pictures stand out, whether they be bright and colourful or tonal and pastel. You can match the clothing to the background or use contrast so use colours which don't match to make it look more garish but attention grabbing..
Enjoy it!
Photography should be fun, the best way to learn more is to experiment yourself with settings angles, backgrounds, lighting. The more you shoot the more you find your confidence will grow.